Making a Time Lapse Camera - 1
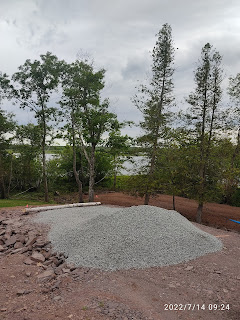
I thought it would be super cool to create a time-lapse of the cottage being built. With a bit of research, I decided to make a fun side project and here it goes with the steps I went through. Hopefully it will be helpful for you.
A standard DSLR camera is what I used for making time lapses with decent quality images. To capture time lapse for months and being on the construction site, I needed an external power source and somewhat weather proof.
Material list:
- Canon EOS 400D with standard 18-55 mm zoom lens, $500, I had one collecting dust for a quite while as you can see from the old model number
- 32 GB SanDisk compact flash memory card, to give about 6500 pictures with high quality, $45
- Canon intervalometer for time controller, $35
- DC 5V - DC 8.4V coupler, to connect camera dummy battery and USB power bank, $32
- 10400 mAh RavPower USB power bank with DC 5V 2.1A output, for powering the camera, $35
- Dummy battery for the camera, so it can draw power from an external source, such as USB power bank, $25
- 100W solar panel and voltage controller kit to top up the power bank during daylight, $130
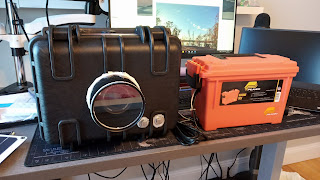
- Pelican case for camera body, $55
- Marine box for battery and intervalometer, $19
- Mounting plates and right angle brackets for cameras, plus bolts and nuts, $15
- 4 inch PVC pipe for the lens snout, $5
- 95mm UV lens filter, to make PVC pipe weather proof, $20
- Silicone caulking, super glues, $5
- Rubber ring gasket for wires and cable through the case, $10


I used hole saws to drill through pelican case to fit 5" PVC pipe, it should fit snugly, then I used silicone sealer to glue the pipe in place so it's water tight.
- turn off auto power-save
- switch to Manual Focus instead of Auto Focus, using the switch in the lens
- use Manual mode for shooting, I used these setting in manual mode: ISO=800, Shutter Speed Priority 1/50 second
- use 10~15 minutes for the interval time


Comments
Post a Comment